Tuesday, February 22, 2011

Spring Fever


Seeing as how we just had around 15 inches of snow or so dumped on us in the last two days you may think I am out of my mind. However, we have had so much new spring merchandise coming into the shop in the last two weeks that I really am having spring fever. There reaches a point in February where I am ready for spring colors to brighten up my mood and my surroundings. Sheila and I have both been getting in new spring stock and the whole store looks full, fresh, and festive.  We have new fashions, handbags, scarves, belts, jewelry and prom purses. Remember, the coffee pot is always on, so stop by for a visit when you can. Until then here is a small preview.


Thursday, February 17, 2011

New Tangle - Artoo

This week's Diva challenge was to use her new tangle, named for her son Artoo, who is home and doing well. Photos of him are posted on her blog and he is too cute! I thought the tangle pattern was nice and it is very easy to vary. I love organic tangles because I tend to be a bit rigid and locked into a grid quite a bit. It helps me to come out of my comfort zone.

Thursday, February 10, 2011

Zentangle Challenge - Hearts for Artoo

This Zentangle is for week 8 of the Diva Zentangle Challenge. The Diva posted the challenge while her little boy was in the hospital. The challenge was to use two previous challenge techniques. I chose the two pencil string combined with the addition a blind string. So these "Two Hearts in One" are for Artoo as well as my prayers for her family.

Wednesday, February 9, 2011

Zentangle Challenge

Recently I discovered two wonderful blogs by Zentangle enthusiasts. For those who don't know, a Zentangle is a small black and white patterned drawing, a type of "artistic meditation" developed by Rick and Maria Thomas. Zentangle is a registered trademark and you can find out more about them at zentangle.com.
I love to tangle but often find myself using the same patterns over and over. It is easy to get into a rut. Then I found two new websites. One is a site entitled tanglepatterns.com and is a compilation of many Zentangle patterns organized and maintained by Linda Farmer. Bless her! The other is a site where a weekly challenge is posted for tanglers who would like some fresh inspiration. It's the Diva's Weekly Challege and a link to the site may be found on the right sidebar.
Last weeks challenge was "Breathe" and here is my tangle:

Tuesday, February 1, 2011

ATC's and what to do with them...

ATC's - what to do with them? Artist trading cards are fun to make and swap but what can you do with them beyond storing them in notebooks or framing them for your walls. While you do have to part with most of the artwork created for swaps there are a few methods for preserving a piece for yourself. I always scan or take a picture of the artwork I send off. This week I was finishing up eleven Valentine ATC's for a swap at artfortytwo.org. Before mailing the cards out I scanned a few of them for use in my own Valentine's. I cut out the scanned ATC's and mounted them on brown and purple cardstock to frame them. I attached the framed pieces to the front of 4x6 cards in pink and cream. Then using the metal foil from last week's make and take I framed the ATC's again on the cardstock  after coloring the foil with alcohol inks.
Add a Valentine verse inside and you have your very own Valentine's - just in time for February.

Thursday, January 27, 2011

Visual Journal Class Week 2

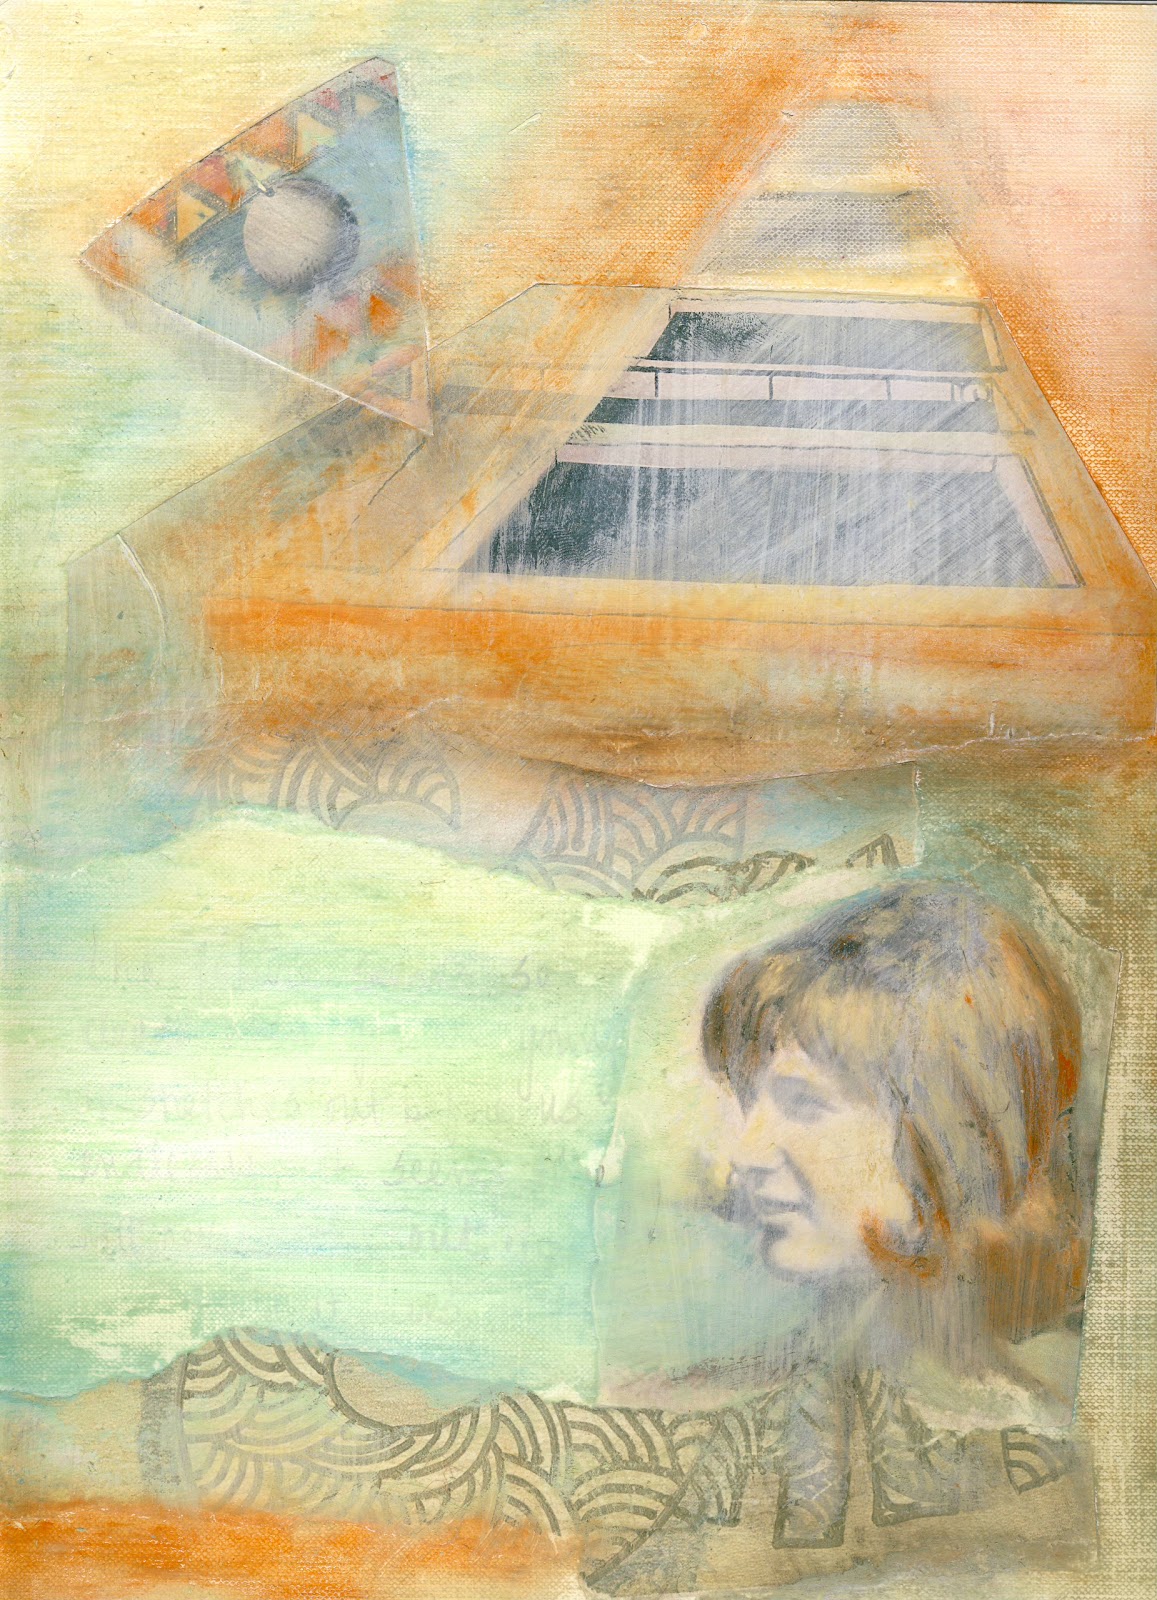
Last week I published a post on a free Visual Journaling class I am participating in through strathmoreartists.com. One nice feature of these classes is that I can work at my own pace. Even though we are already on week 4 of the classes, and I am only on week 2 of the work it's OK. No deadlines, no pressure, no stress. That's the kind of project with which I can live!
On the second week we were to add shading, color and paint to our projects. Using a charcoal pencil we added shading beneath elements in which we wanted to enhance the shadows. Then using 3 or 4 shades of oil pastel we were to color and blend in areas of our collage. Finally, we used a gesso white wash to overpaint the entire piece. Then back again with more shading and color.

Tuesday, January 25, 2011

Dotee Dolls

Engaging with others in mail art swaps is one of my favorite pastimes. I usually pick one or two a month to participate in on a site called artfortytwo.org. The swaps are varied, the art well done, and the people nice. Another advantage of  the Art 42 group is that I am not required to purchase any special products to participate in the swaps. Everyone works pretty much with the products they have on hand already. I like this because it often allows me to use new techniques or products I have been wanting to try out. Most of the swaps I engage in are collaged or painted ATC's, chunky pages, or things of that nature.
However, one different sort of a swap caught my attention -Dotee dolls. Now what in the world are Dotee dolls?, I thought. Well, as it turns out, Dotee Dolls are an altered art doll created by Dot of http://dotslifeandart.blogspot.com Since then they have become a swap sensation and they are as varied and different as they are fun. The pair I made for the swap were to be a Winter Dotee doll and a Spring Dotee doll. Here they are - the Snow Angel and the Spring Sprout. I must admit I had a hard time parting with them but send them off I did and these pics are all I have left.

Many sites and blogs post detailed instructions for making a dottee doll but here are the basics.
1. Find some fabric you love for the body. Cut it out in any shape of your choosing. I have seen pear shapes, rectangles, triangles. Find a ribbon to use for hanging the dottee doll. The ribbon is folded in half  with the loop sticking out the top of the doll and the tail hanging out the bottom of the doll.  Attach the ribbon to the front inside of the body. The doll will be anywhere from about 3-5 inches long.
2. Using felt of any color cut out a face shape. Draw, paint, sew or bead on the facial features, then sew the face to the front side of the front of the body.
3. Stitch the two body parts together. Hand stitching is easy to do on these dolls. They can be sewn right sides together and turned inside out so the stitching does not show, or sewn wrong sides together with the seams to the outside. Again it depends on your preference.
4. Embellish the doll as you choose. You may add clothing, beads, hair. The sky's the limit!